In this series of articles we are going to be building an authenticator app using KeystoneJS for the backend and React for the frontend. The concept is pretty simple and yes there are a bunch out there already but I recently had a need to learn some of the ins and outs of TOTP tokens and thought this project would be a fun idea. Let’s get started.
Step 1: Init keystone app
Open up a terminal and create a blank keystone project. We are going to call our app authenticator to keep things simple.
$ yarn create keystone-app
yarn create v1.22.21
[1/4] Resolving packages...
[2/4] Fetching packages...
[3/4] Linking dependencies...
[4/4] Building fresh packages...

success Installed "[email protected]" with binaries:
      - create-keystone-app
[###################################################################################################################################################################################] 273/273
✨ You're about to generate a project using Keystone 6 packages.

✔ What directory should create-keystone-app generate your app into? · authenticator

⠸ Installing dependencies with yarn. This may take a few minutes.
⚠ Failed to install with yarn.
✔ Installed dependencies with npm.


🎉  Keystone created a starter project in: authenticator

  To launch your app, run:

  - cd authenticator
  - npm run dev

  Next steps:

  - Read authenticator/README.md for additional getting started details.
  - Edit authenticator/keystone.ts to customize your app.
  - Open the Admin UI
  - Open the Graphql API
  - Read the docs
  - Star Keystone on GitHub

Done in 84.06s.
After a few minutes you should be ready to go. Ignore the error about yarn not being able to install dependencies, it’s an issue with my setup. Next go ahead and open up the project folder with your editor of choice. I use VSCodium:
codium authenticatorLet’s go ahead and remove all the comments from the schema.ts file and clean it up some:
sed -i '/\/\//d' schema.tsAlso, go ahead and delete the Post and Tag list as we won’t be using them. Our cleaned up schema.ts should look like this:
// schema.ts
import { list } from '@keystone-6/core';
import { allowAll } from '@keystone-6/core/access';

import {
  text,
  relationship,
  password,
  timestamp,
  select,
} from '@keystone-6/core/fields';


import type { Lists } from '.keystone/types';

export const lists: Lists = {
  User: list({
    access: allowAll,

    fields: {
      name: text({ validation: { isRequired: true } }),
      email: text({
        validation: { isRequired: true },
        isIndexed: 'unique',
      }),
      password: password({ validation: { isRequired: true } }),
      createdAt: timestamp({
        defaultValue: { kind: 'now' },
      }),
    },
  }),

};
Next we will define the schema for our tokens. We will need 3 basic things to start with:
- Issuer
- Secret Key
- Account
The only thing that really matters for generating a TOTP is actually the secret key. The other two fields are mostly for identifying and differentiating tokens. Go ahead and add the following to our schema.ts underneath the User list:
  Token: list({
    access: allowAll,
    fields: {
      secretKey: text({ validation: { isRequired: true } }),
      issuer: text({ validation: { isRequired: true }}),
      account: text({ validation: { isRequired: true }})
    }
  }),
Now that we have defined our Token, we should probably link it to a user. KeystoneJS makes this really easily. We simply need to add a relationship field to our User list. Add the following field to the user list:
tokens: relationship({ ref:'Token', many: true })We are defining a tokens field on the User list and tying it to our Token list. We are also passing many: true saying that a user can have one or more tokens. Now that we have the basics set up, let’s go ahead and spin up our app and see what we have:
$ yarn dev
yarn run v1.22.21
$ keystone dev
✨ Starting Keystone
⭐️ Server listening on :3000 (http://localhost:3000/)
⭐️ GraphQL API available at /api/graphql
✨ Generating GraphQL and Prisma schemas
✨ The database is already in sync with the Prisma schema
✨ Connecting to the database
✨ Creating server
✅ GraphQL API ready
✨ Generating Admin UI code
✨ Preparing Admin UI app
✅ Admin UI ready
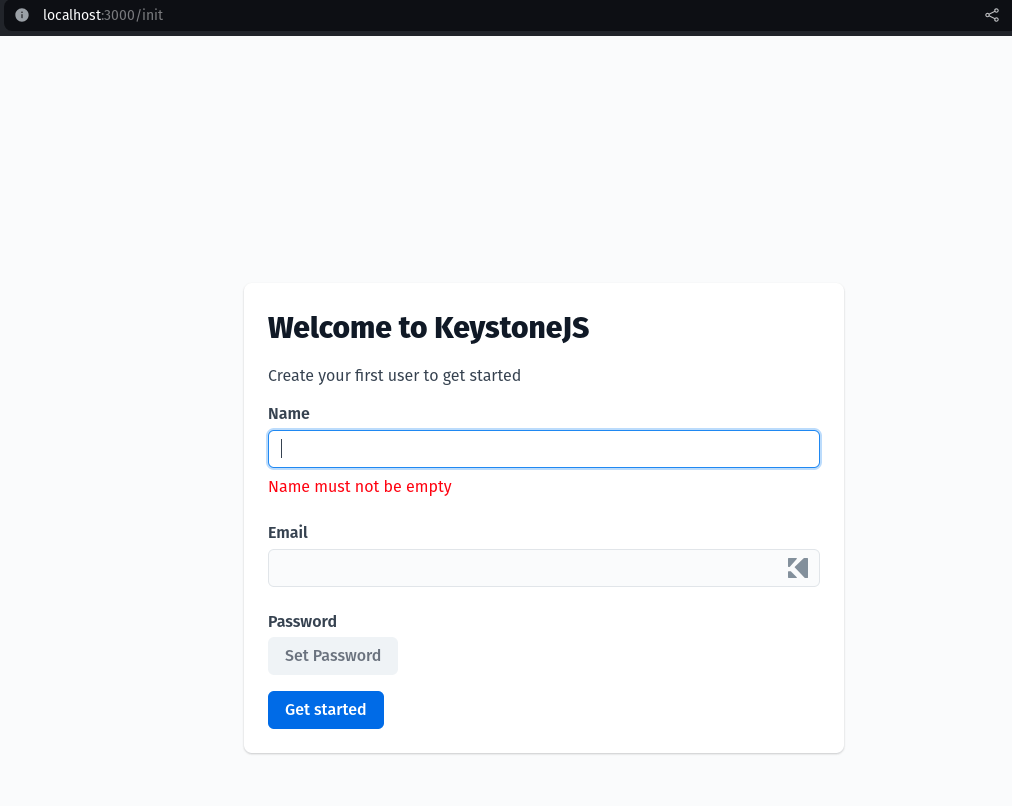
Our server should be running on localhost:3000 so let’s check it out! The first time we open it up we will be greeted with the initialization screen. Go ahead and create an account to login:
Once you login you should see a dashboard similar to this:
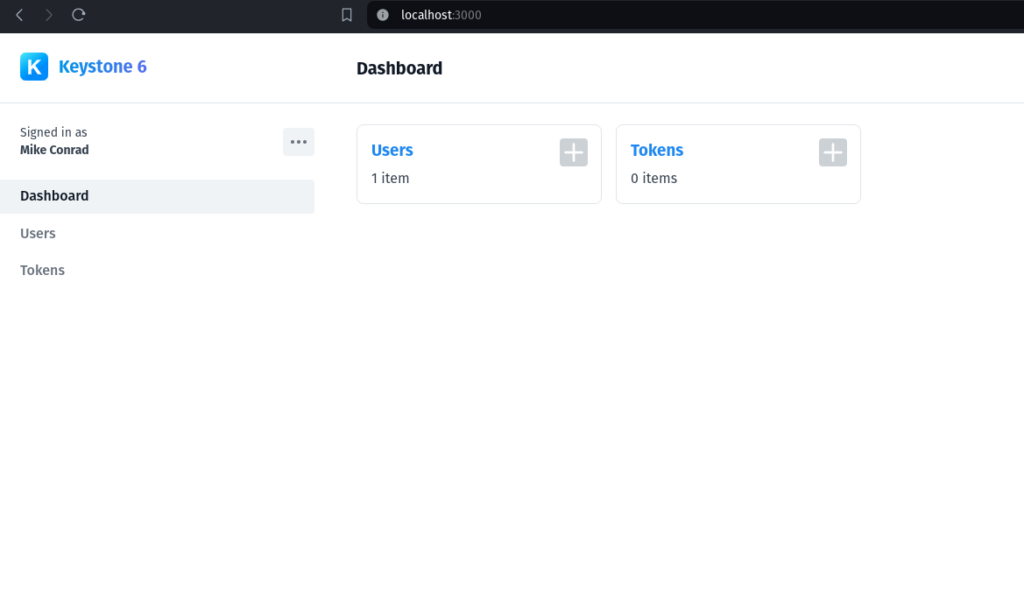
You can see we have Users and Tokens that we can manage. The beauty of KeystoneJS is that you get full CRUD functionality out of the box just by defining our schema! Go ahead and click on Tokens to add a token:
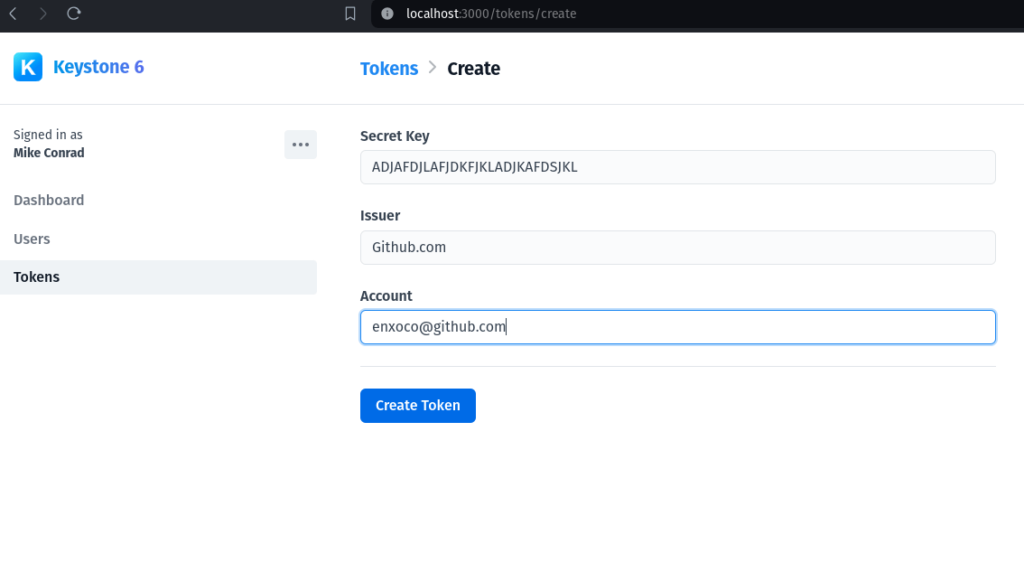
For this example I just entered some random text as an example. This is enough to start testing out our TOTP functionality. Click ‘Create Token’ and you should see a list displaying existing tokens:

We are now ready to jump into the frontend. Stay tuned for pt 2 of this series.